Animations#
To create animations with Plopp, we make use of the node mechanism and leverage Matplotlib’s support for animations.
1D animations#
[1]:
import plopp as pp
from plopp.data.examples import three_bands
import matplotlib.animation as animation
We load the data and display it in a figure:
[2]:
da = three_bands()
da.plot(logc=True)
[2]:

We now create an animation where we are scanning the vertical y direction of the data, making a plot of each slice in each step of the animation.
On every call to the update function passed to Matplotlib’s FuncAnimation, we update the index node and notify the children nodes of the change. This updates the figure at every step.
Finally, we save the animation to a .gif file. See here for the possible formats animations can be saved in.
[3]:
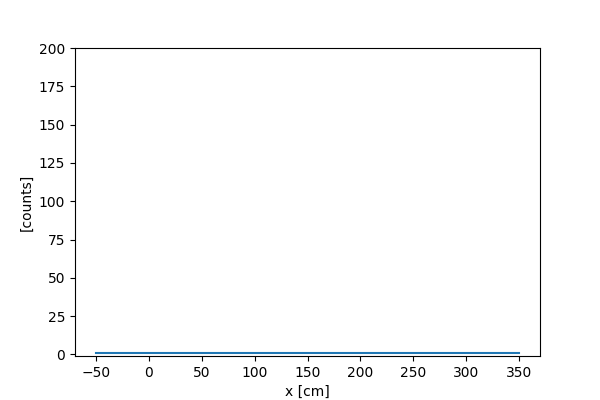
data_node = pp.Node(da)
index_node = pp.Node(0)
# Here, 'y' is the dimension you want to slice
slice_node = pp.Node(lambda da, ind: da["y", ind], da=data_node, ind=index_node)

f = pp.linefigure(slice_node, ymin=-1, ymax=200)


def update(frame):
    index_node.func = lambda: frame
    index_node.notify_children("")


ani = animation.FuncAnimation(fig=f.fig, func=update, frames=200, interval=100)
ani.save(filename="animation_1d.gif", writer="pillow")
Displaying the animation in the notebook#
There are (at least) three different ways to display the animation directly in the notebook.
Markdown#
The first is to create a markdown cell and just display the image (note that refreshing browser window may be required in some cases):

Display the interactive figure#
The second method is to simply display the figure f define above, but this only works if ``%matplotlib widget`` is enabled (and does not work in the rendered docs, hence not shown here). The advantage of this method is that it does not require first saving the animation to disk.
Ipywidgets#
The third method is to use ipywidgets to display the image in the file:
[4]:
import ipywidgets as ipw

ipw.Image(value=open("animation_1d.gif", "rb").read(), format="gif")
[4]:
2D animations#
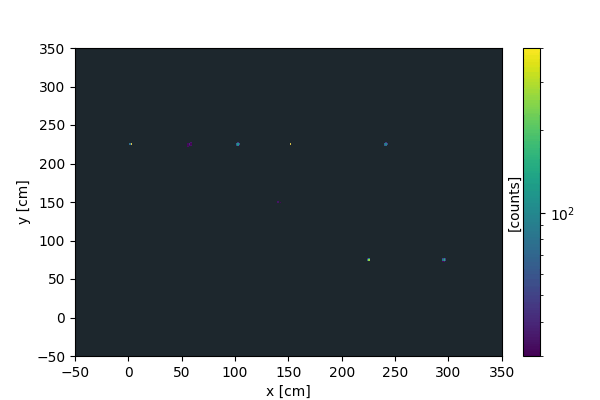
We can create a similar animation on 2d images, where instead of slicing the vertical dimension, we collect more and more signal as time progresses.
Every time the update function is called, new data is created and added to the current data.
[5]:
da = three_bands(npeaks=20, per_peak=500, spread=30.0)
data_node = pp.Node(da)

f = pp.imagefigure(data_node, cbar=True, cmin=30, cmax=400, logc=True)


def update(frame):
    # Make new data and add it to the current data.
    # The current data is obtained by calling the `data_node()`
    new = three_bands(npeaks=20, per_peak=500, spread=30.0) + data_node()
    data_node.func = lambda: new
    data_node.notify_children("")


ani = animation.FuncAnimation(fig=f.fig, func=update, frames=80, interval=100)
ani.save(filename="animation_2d.gif", writer="pillow")
We now display the resulting animation (using markdown):
3D animations#
Animations on 3D plots are currently not supported.
The best way to achieve this would be to record a screencast while interacting with a 3D scene.